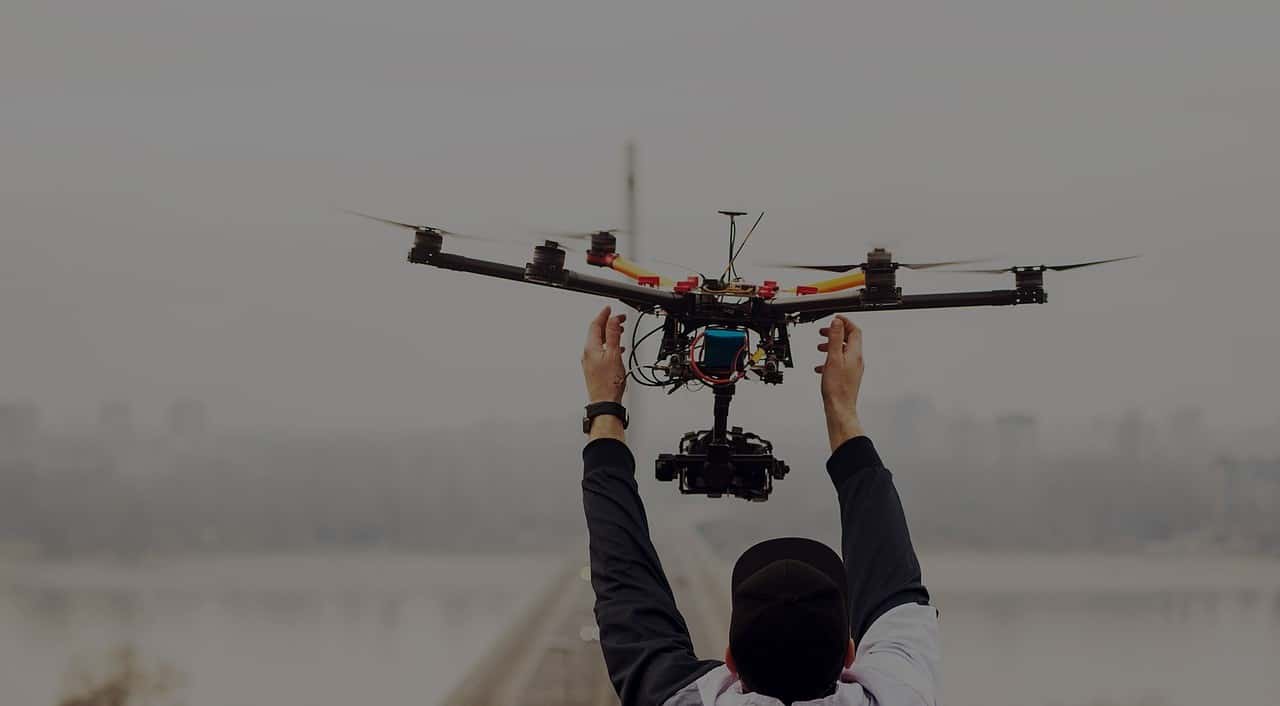
Capturing an aerial video is an easy thing to do. What is difficult is to edit the footage into something that wows the people who see it. This requires a lot of creativity, some trial and error, and a good knowledge of how a video has to be presented. And in this post, we will look at seven tips that can help you edit the perfect drone video.
Use 4K
The first tip does not have to do with editing, but with the process of capturing the video. And here you must remember to use 4K to capture your footage. This alone will give you a wider option when it comes to editing. For example, if you are taking the output of the video at 1080p, then you can easily move around the 4K footage and hide any unwanted details. As such, if any part of the drone is seen visible at the top portion, the only thing you have to do is to move the 4K footage slightly up until the drone gets hidden from the 1080p view.
Warp Stabilizer
When you fly the drone up in the sky, it is normal for it to have erratic movements. This can happen either due to your own erroneous handling of the controls or when the drone hits a strong gust of oncoming wind. Whatever be the reason, the resulting footage will look shaky. However, you don’t have to feel disappointed. Just use the warp stabilization feature in your video editing software and you can easily smooth out the jitters, making the video look silky smooth in movement. However, do keep your expectations realistic. If the video has too much jerkiness, then obviously no stabilization feature can make it look smooth.
Motion Blur
One key way to make a footage look more cinematic is by using motion blur. But when using drones, you will likely be forced to use a fast shutter speed in order to correct exposure for the video. Unfortunately, this eliminates the possibility of natural motion blur from the video. As such, you should try to add in some motion blur effect from your editing software so that the video has a more stylish, cinematic feel.
Exporting
When exporting the video, you need to take into account the purpose for which it will be used. If it is to be shown in an online drone video community, then outputting the video in H.264 format is optimal since it is the default format of most videos on the internet. As such, all websites are optimized to allow smooth playback of such formats. Plus, remember to output in full HD.
Lens Distortion
Some drone videos can also have lens distortion that can make the footage look weird. But this is not a serious issue and can be quickly fixed. Load up the video in your editing software and select the lens distortion removal effect to minimize the effects of distortion.
Speed
The initial footage of flying the drone over a large area, like a mountain or a rainforest, might not look the way you expected it. This mostly has to do with the fact that your drone has a limited speed. As such, it will take a lot of time to cover a vast area, resulting in aerial shots that move too slow and does not give the epic feel one sees in movies. And this is where some speeding up can become helpful in your video editing software, increase the speed of the video and add in some motion blur that compliments the new speed. This should be good enough to give the aerial shot an epic feel. And if you want more dynamic movements, then use key frames to change the speed of the video at multiple intervals.
Color Correct
The last step of editing is the color correction stage. This is what will give your drone video its unique look. No matter how ordinary a video looks, a professional color grader can enhance its appeal by clever use of colors. Make sure that the overall color of the video matches with the content of the video. For example, if you have captured aerial imagery of a beach, then the colors have to be vibrant in order to give it a lively feel. Using dark, grey colors on the video will only contradict the imagery that you have captured.
Follow the above suggestions and you should be able to turn your raw drone footage into amazing videos that capture the attention of the audience.

